There are some desserts that look impressive but secretly take very little effort, and no-bake pumpkin cheesecake is one of them. It has all the creamy richness of classic cheesecake, the warm flavor of pumpkin pie, and none of the stress that comes with baking in a water bath or worrying about cracks on the surface. That’s exactly why this recipe has become one of my favorite fall desserts to make for family gatherings and holiday weekends.
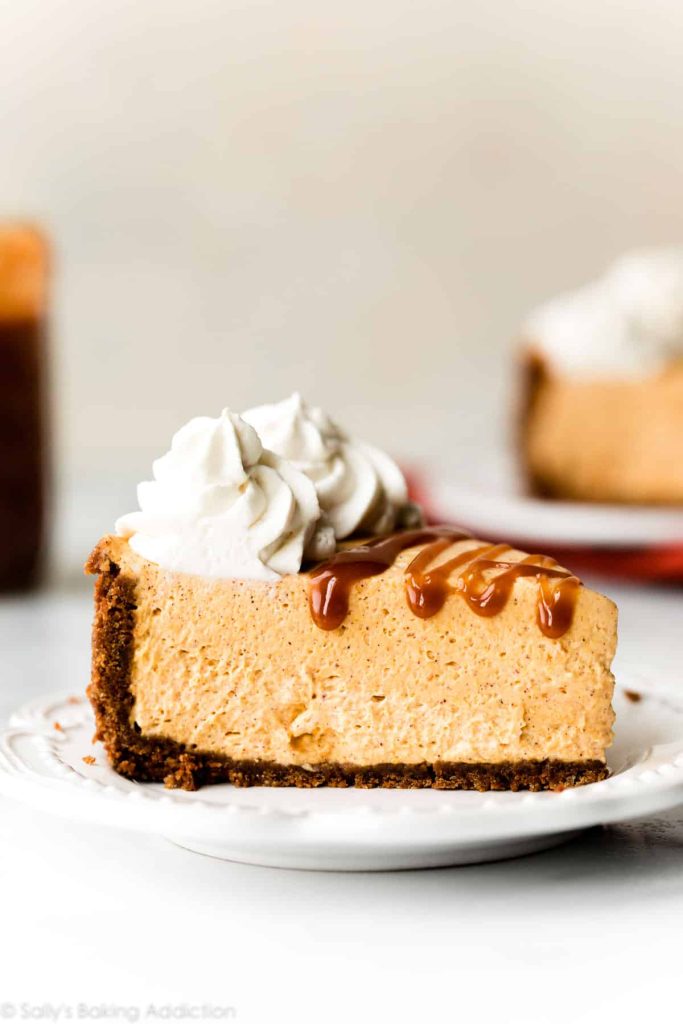
This recipe uses whipped cream folded into the pumpkin cheesecake filling, which gives it a mousse-like texture that feels rich but not heavy. The gingersnap crust also makes a huge difference. Regular graham crackers work fine, but gingersnaps add warmth and spice that pair beautifully with pumpkin. It’s the kind of dessert that tastes like fall from the very first bite.
1. Pumpkin Cheesecake Recipe (No Bake) (Yield: 10 – 12 Servings)
Ingredients
Gingersnap Cookie Crust
- 2 cups (200g) gingersnap cookie crumbs
- 1/4 teaspoon each: ground ginger and ground cinnamon
- 6 tablespoons (85g) unsalted butter, melted
- 1/4 cup (50g) granulated sugar or brown sugar (packed)
Cheesecake
- 1 cup (240ml) cold heavy cream or heavy whipping cream
- 16 ounces (452g) full-fat brick cream cheese, softened to room temperature
- 1 cup (226g) pumpkin puree
- 3/4 cup (90g) confectioners’ sugar
- 1/4 cup (50g) packed light or dark brown sugar
- 1 teaspoon pure vanilla extract
- 2 teaspoons store-bought or homemade pumpkin pie spice
- 1/2 teaspoon ground cinnamon
- 1/8 teaspoon salt
Optional Toppings
- Whipped Cream and/or Salted Caramel
Instructions
Start by preparing the crust. In a medium bowl, combine the gingersnap cookie crumbs, ground ginger, cinnamon, melted butter, and sugar. Stir until the mixture resembles wet sand and holds together when pressed between your fingers.
If making individual cheesecake cups, divide the crust mixture evenly among cupcake liners or dessert cups. Press the crumbs firmly into the bottom using the back of a spoon or the bottom of a small glass. If using a springform pan instead, press the crust evenly into the bottom of the pan.
Place the crust in the refrigerator while preparing the filling. Chilling helps the butter firm up so the crust stays together when sliced or served.
In a separate mixing bowl, beat the cold heavy cream until stiff peaks form. This usually takes about 3 to 4 minutes with an electric mixer. Set the whipped cream aside in the refrigerator while preparing the rest of the filling.
In a large bowl, beat the softened cream cheese until smooth and creamy. This step matters more than people think. If the cream cheese still feels cold or firm, the filling can become lumpy later. I usually let mine sit at room temperature for at least an hour before starting.
Add the pumpkin puree, confectioners’ sugar, brown sugar, vanilla extract, pumpkin pie spice, cinnamon, and salt. Beat everything together until fully combined and smooth. The filling should look creamy and slightly fluffy at this stage.
Gently fold the whipped cream into the pumpkin mixture using a spatula. Work slowly and carefully so the filling keeps its light texture. Overmixing can flatten the whipped cream and make the cheesecake denser.
Spoon or pipe the filling onto the chilled crusts. Smooth the tops with a spoon or offset spatula. Cover and refrigerate for at least 6 hours, though overnight chilling gives the best texture and flavor.
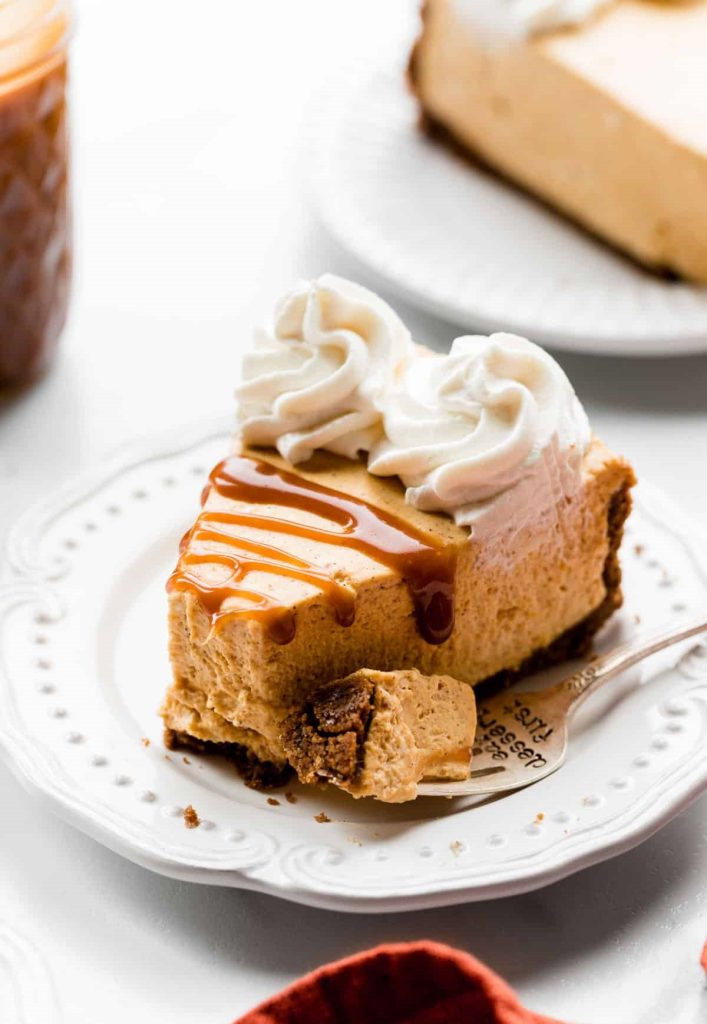
Before serving, top each cheesecake with whipped cream, salted caramel, or both. The caramel adds a sweet-salty contrast that works especially well with the warm pumpkin spices.
The finished cheesecake should be creamy, smooth, and light enough to melt softly with each bite while still holding its shape beautifully.
2. Tips for Perfect Pumpkin Cheesecake
Use full-fat brick cream cheese instead of spreadable cream cheese from a tub. Brick cream cheese creates a thicker and more stable filling.
Pat the pumpkin puree lightly with paper towels if it seems watery. Some brands contain more moisture than others, which can affect the texture of the cheesecake.
Cold heavy cream whips faster and holds its shape better. I even chill the mixing bowl for about 10 minutes before whipping during warmer months.
Don’t rush the chilling time. No-bake cheesecake needs several hours to fully set. Overnight chilling gives the cleanest slices and the best flavor.
If using a springform pan, line the bottom with parchment paper for easier removal and cleaner presentation.
For extra flavor, add a pinch of sea salt on top of the caramel just before serving. It balances the sweetness and makes the pumpkin flavor stand out more.
3. Frequently Asked Questions
Can I make this cheesecake ahead of time?
Yes. This dessert is actually better when made ahead because the filling becomes firmer and the flavors blend together more fully after several hours in the refrigerator.
Can I freeze no-bake pumpkin cheesecake?
Absolutely. Wrap it tightly and freeze for up to two months. Thaw overnight in the refrigerator before serving.
Why didn’t my cheesecake set properly?
This usually happens if the whipped cream wasn’t beaten to stiff peaks or if the cheesecake didn’t chill long enough. Using low-fat cream cheese can also make the filling softer.
Can I use homemade pumpkin puree?
Yes, but homemade puree is often thinner than canned pumpkin. If it seems watery, strain it slightly before adding it to the filling.
What’s the best way to serve no-bake cheesecake at parties?
Individual cheesecake cups or cupcake liners work especially well for parties because they’re easy to serve and don’t require slicing.
4. Nutrition Information
| Nutrient | Amount Per Serving |
|---|---|
| Calories | 410 |
| Protein | 5g |
| Carbohydrates | 32g |
| Sugar | 23g |
| Fat | 29g |
| Saturated Fat | 17g |
| Cholesterol | 85mg |
| Sodium | 260mg |
| Fiber | 1g |
This easy no-bake pumpkin cheesecake is one of those desserts that feels special without requiring complicated techniques or hours in the kitchen. The creamy pumpkin filling, warm spices, and crunchy gingersnap crust come together in a way that tastes comforting and festive at the same time.
It’s also the kind of recipe that fits easily into busy schedules. You can prepare it ahead of time, keep it chilled until serving, and enjoy a dessert that looks impressive while staying incredibly simple to make. After one bite, it’s easy to understand why this has become a favorite dessert during pumpkin season in so many homes.
