Homemade self-rising flour is one of the most useful staples you can keep in your kitchen. Whether you’re making biscuits, pancakes, muffins, or quick breads, it saves time by combining leavening and salt directly into the flour. Many home bakers reach for self-rising flour only to discover they don’t have it on hand—yet the good news is that you can make it yourself in just minutes.
This recipe shows you exactly how to mix all-purpose flour, baking powder, and salt in the correct ratio to replicate store-bought self-rising flour. With this simple method, you can control freshness, adjust flavors, and create the perfect texture for your baked goods anytime you need it.
1. What Is Self-Rising Flour?
Self-rising flour is a blend of all-purpose flour, baking powder, and salt. It was created to make baking easier by incorporating the leavening agent directly into the flour, eliminating the need to measure baking powder separately in many recipes. It is most commonly used in Southern-style baking—think fluffy biscuits, soft pancakes, and tender quick breads.
Unlike all-purpose flour, this mixture already contains the precise amount of baking powder needed for lift. The salt enhances flavor and supports dough structure. Because the leavening is pre-mixed, recipes using self-rising flour typically require fewer ingredients and simpler preparation.
However, self-rising flour is not the same as cake flour or all-purpose flour. It has a specific formula and works best in recipes written for it. Using it in the wrong recipe without adjustments can affect texture, moisture, and rise. That’s why learning to make your own is especially helpful—you can prepare it fresh anytime and avoid last-minute grocery store runs.
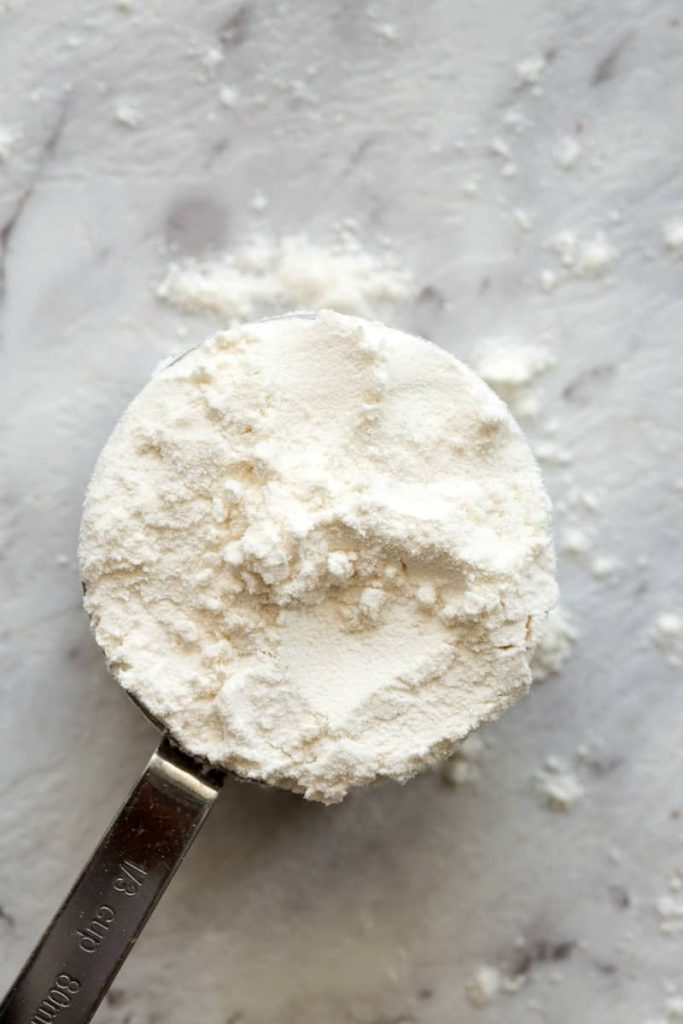
2. How to Make Self Rising Flour ( Yield: 4 Serving )
Ingredients
- 4 cups all-purpose flour
- 2 teaspoons salt
- 2 tablespoons baking powder
Instructions
Measure the Flour
Begin by adding 4 cups of all-purpose flour into a large mixing bowl. For the most accurate results, use the spoon-and-level method: lightly spoon flour into a measuring cup and level the top with a knife. Using too much flour can lead to dense baked goods.
Add the Baking Powder
Sprinkle 2 tablespoons of baking powder over the flour. Baking powder is the leavening agent that creates lift during baking. Make sure your baking powder is fresh—expired baking powder will not provide enough rising power.
Add the Salt
Add 2 teaspoons of salt. Salt is essential for flavor and also strengthens the gluten network in doughs and batters.
Whisk Thoroughly
Use a dry whisk or fork to mix all the ingredients together until completely combined. Make sure the baking powder and salt are evenly dispersed throughout the flour. This step is crucial to ensure your baked goods rise evenly.
Optional: Sift the Mixture
For an even finer, more uniform blend, sift the mixture through a fine-mesh sieve 1–2 times. This step helps distribute the leavening agent more thoroughly.
Use Immediately or Store
You can use the self-rising flour right away in any recipe that calls for it, or transfer it to an airtight container. Store it in a cool, dry place for up to 6 months. If you plan to store it for longer, label the container with the date to track freshness.
3. How to Use Self Rising Flour in Recipes
Self-rising flour can be used in many everyday recipes, especially those that rely on quick chemical leavening rather than yeast. Here are the best ways to incorporate it into your cooking and baking:
Biscuits and Scones
Self-rising flour is famous for producing tall, fluffy Southern-style biscuits. Because the leavening is already included, you simply cut in cold butter, add milk or cream, and bake. It’s also excellent for tender scones.
Pancakes and Waffles
Using self-rising flour ensures your pancake batter becomes airy and light. It reduces the number of ingredients needed and helps prevent overmixing.
Cakes and Quick Breads
Many simple cakes, tea loaves, and banana breads can be made with self-rising flour. If substituting in a recipe that uses all-purpose flour, omit the baking powder and salt, or the cake may rise too much and collapse.
Muffins
It produces soft, domed muffins without requiring extra leavening. Just mix your wet and dry ingredients gently to avoid toughness.
Breading and Frying
A lesser-known use is coating meats or vegetables for frying. Self-rising flour creates a crisp, slightly puffy exterior.
Important Tips for Using Self-Rising Flour
- Never add extra baking powder unless the recipe specifically calls for it.
- Avoid using it in yeast breads like sandwich loaves or pizza dough.
- Adjust salt in your recipe if needed—some dishes may already contain enough salt.
- Check your recipe instructions because not all recipes are designed for self-rising flour.
Using homemade self-rising flour makes baking simpler and more consistent, especially for quick, everyday dishes.
4. Nutrition Information
Here is the approximate nutrition information per 1 cup of homemade self-rising flour:
| Nutrient | Amount |
|---|---|
| Calories | 455 kcal |
| Carbohydrates | 95 g |
| Protein | 12 g |
| Fat | 1 g |
| Sodium | 1160 mg |
| Fiber | 3 g |
| Sugars | 0 g |
| Saturated Fat | 0 g |
| Trans Fat | 0 g |
| Cholesterol | 0 mg |
Learning how to make homemade self-rising flour is a valuable skill that gives you flexibility and convenience in your kitchen. With just all-purpose flour, baking powder, and salt, you can create a versatile ingredient that works beautifully in biscuits, pancakes, muffins, cakes, and so many other baked goods.
This simple recipe ensures you’ll never be without self-rising flour again—and because you’re making it yourself, you have full control over freshness and flavor. The next time a recipe calls for self-rising flour, you can easily prepare it from scratch and enjoy reliable, delicious results every time.