Homemade Artisan Bread is a wonderful way to enjoy fresh, bakery-style bread without complicated ingredients or equipment. This recipe uses just five simple ingredients to create a loaf with a golden crust and a soft, chewy center that makes every slice satisfying.
The dough is straightforward to prepare and does not require an electric mixer. With a little time for the dough to rise and a hot oven for baking, you can make a rustic loaf that is perfect for everyday meals, sandwiches, or simply enjoying warm from the oven.
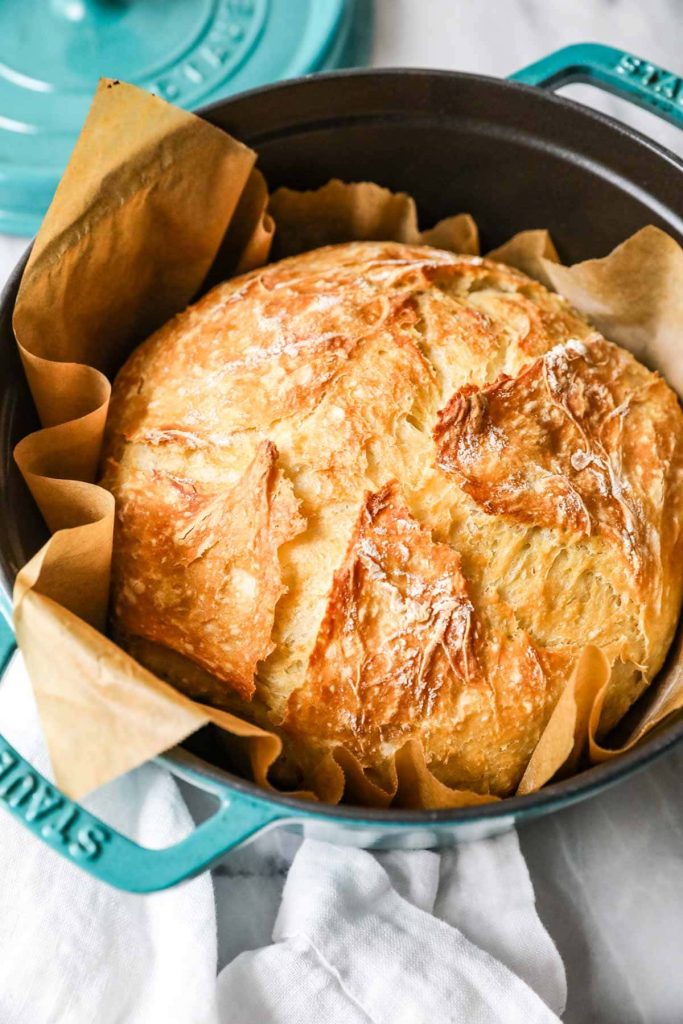
1. Homemade Artisan Bread Recipe (Yield: 1 Loaf)
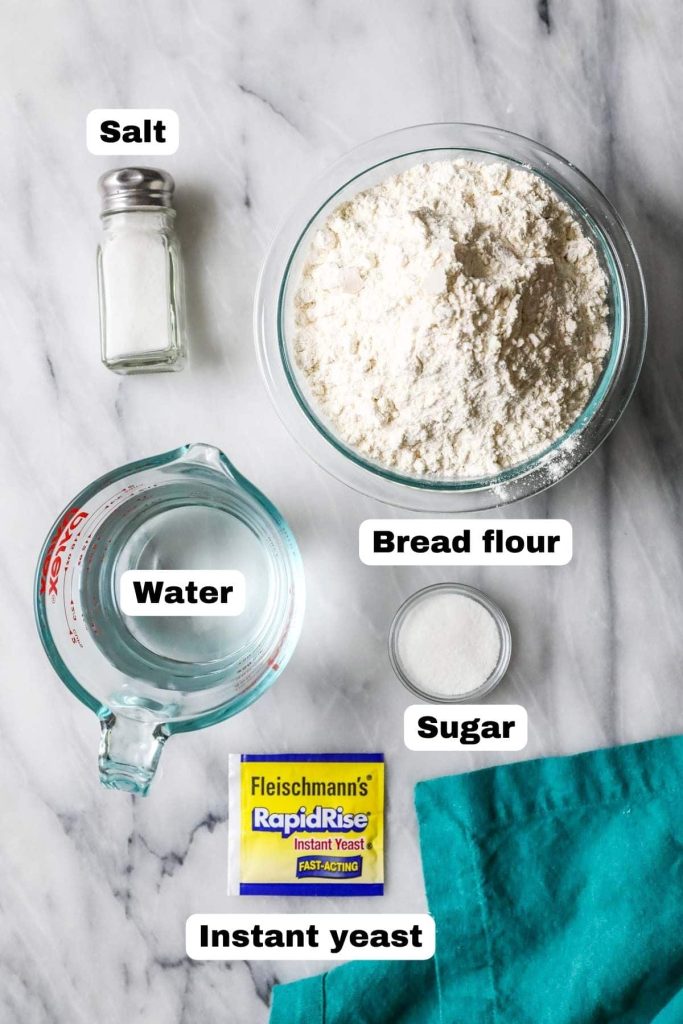
Ingredients
- 3 ½ cups (437 g) bread flour, plus more if needed
- 2 ¼ teaspoons (7 g) instant yeast
- 1 tablespoon (12 g) granulated sugar, optional
- 1 ½ teaspoons (10 g) salt
- 1 ½ cups (360 ml) warm water, 115°F (46°C)
Instructions
In a large mixing bowl, combine the bread flour, instant yeast, sugar, and salt. Stir the dry ingredients together until they are evenly distributed.
Pour the warm water into the bowl and mix with a wooden spoon or sturdy spatula until a rough, sticky dough forms. If the dough looks unusually wet and cannot hold together, add a little extra flour, one tablespoon at a time.
Cover the bowl with plastic wrap or a clean kitchen towel. Let the dough rest in a warm, draft-free place for about 1 to 1 ½ hours, or until it has noticeably increased in size and looks puffy.
Once the dough has risen, lightly flour your work surface and turn the dough onto it. Gently shape the dough into a round loaf, using lightly floured hands if necessary. Avoid adding too much flour because the dough should remain slightly soft and tacky.
Place the shaped dough on a piece of parchment paper and cover it loosely with a clean towel. Let it rest for another 20 to 30 minutes while the oven preheats.
Place a Dutch oven with its lid inside the oven and preheat the oven to 450°F (230°C). Allow the Dutch oven to heat for at least 30 minutes so it becomes thoroughly hot.
Carefully remove the hot Dutch oven from the oven. Using the parchment paper as handles, lower the dough into the Dutch oven. Be extremely careful because both the pot and lid will be very hot.
Cover the Dutch oven with the lid and bake for 25 minutes. The covered environment helps retain moisture around the dough and encourages the loaf to develop a crisp crust.
Remove the lid and continue baking for another 10 to 15 minutes, or until the bread is deeply golden brown and the crust looks crisp.
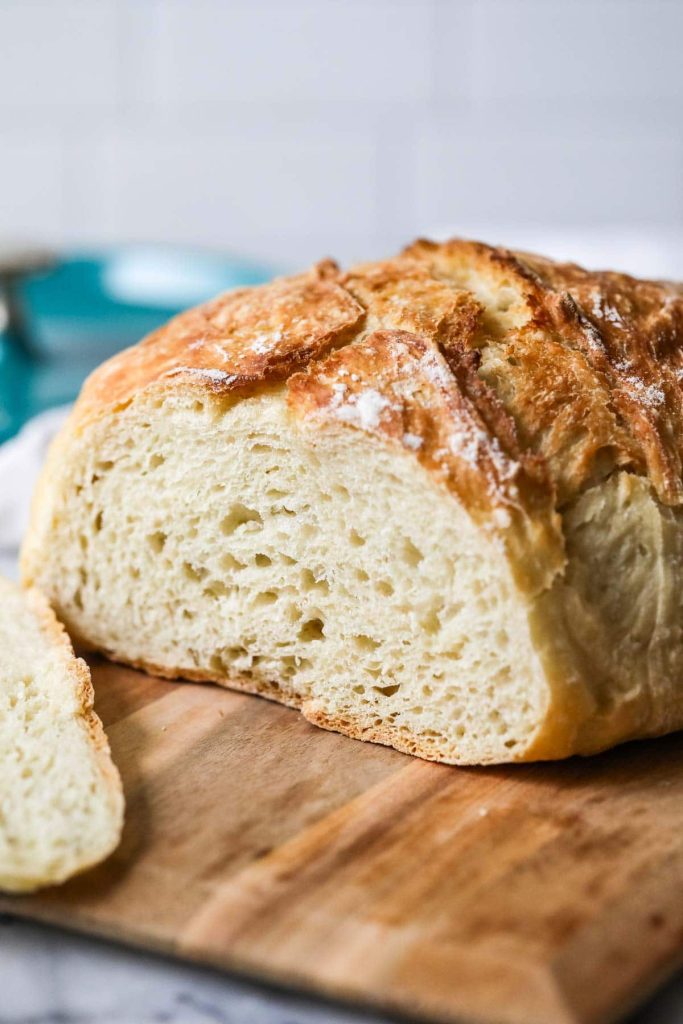
Carefully remove the loaf from the Dutch oven and transfer it to a wire rack. Let it cool for at least 30 minutes before slicing. Allowing the bread to cool helps the interior finish setting and makes it easier to achieve clean slices.
Slice the artisan bread with a serrated knife and serve. The loaf can be enjoyed fresh or stored for later use.
2. Tips for Perfect Homemade Artisan Bread
Measure the flour carefully. Using a kitchen scale gives the most consistent results. If measuring with cups, spoon the flour into the measuring cup and level it rather than packing it down.
Use the correct water temperature. Water around 115°F (46°C) is warm enough to help the yeast work efficiently. Water that is extremely hot can damage the yeast.
Do not add too much flour. Artisan bread dough is naturally softer and stickier than many traditional bread doughs. Add extra flour only when the dough is excessively wet and difficult to handle.
Give the dough enough time to rise. Rising time can vary depending on the temperature of your kitchen. Look for the dough to become noticeably puffy rather than relying only on the clock.
Preheat the Dutch oven thoroughly. A properly heated Dutch oven helps the dough begin baking immediately and supports good crust development.
Handle the dough gently. Avoid aggressively kneading or pressing the dough after the first rise. Gentle shaping helps preserve some of the air developed during fermentation.
Let the loaf cool before cutting. Cutting into the bread immediately can make the interior appear gummy. A short cooling period allows the crumb to firm up.
Use parchment paper for easier handling. The parchment makes it much easier to transfer the shaped dough into a very hot Dutch oven safely.
3. Frequently Asked Questions
Can I make this bread without a Dutch oven?
Yes. A Dutch oven is helpful because it traps steam around the dough, but the bread can also be baked on a sturdy baking sheet or in another oven-safe covered baking vessel. The crust may have a slightly different texture.
How do I know when the bread is fully baked?
The loaf should have a deep golden-brown crust and feel firm when gently tapped. For a more precise check, the center should reach approximately 200°F to 210°F (93°C to 99°C).
Why is my homemade bread dense inside?
A dense loaf can result from insufficient rising, too much flour, or yeast that is not working properly. Make sure the dough has enough time to become noticeably puffy before shaping and baking.
How should I store leftover artisan bread?
Once completely cooled, keep the bread at room temperature in a paper bag or loosely wrapped in a clean kitchen towel. Avoid refrigerating it, as refrigeration can cause bread to lose its soft texture more quickly.
Can I make the dough ahead of time?
Yes. The dough can be prepared ahead and kept covered in the refrigerator for a slower rise. The cooler environment slows fermentation and can also develop additional flavor. Allow extra time for the dough to become active before shaping and baking.
4. Nutrition Information
The following nutrition information is an approximate estimate for the entire loaf divided into eight servings. Actual values can vary slightly depending on the exact flour used and the amount of additional flour added during shaping.
| Nutrient | Amount per Serving |
|---|---|
| Calories | 220 kcal |
| Protein | 7 g |
| Total Fat | 1 g |
| Saturated Fat | 0 g |
| Carbohydrates | 45 g |
| Fiber | 2 g |
| Sugars | 2 g |
| Sodium | 440 mg |
| Calcium | 12 mg |
| Iron | 2 mg |
Homemade Artisan Bread is a satisfying recipe that turns a few basic ingredients into a rustic loaf with a crisp crust and tender interior. The preparation is approachable, making it a useful recipe to keep on hand for fresh bread at home.
Once you become familiar with the dough and baking process, this loaf can easily become part of your regular baking routine. Freshly baked and allowed to cool before slicing, it brings a delicious homemade touch to everyday meals.