Apple pie is one of the most beloved homemade desserts and a favorite for holidays, family gatherings, and special occasions. Its timeless appeal and simple preparation have made it a classic recipe passed down through generations.
This homemade apple pie recipe is easy to follow and perfect for bakers of all skill levels. With simple ingredients and straightforward steps, you’ll be able to create a beautiful pie from scratch that looks impressive and tastes homemade.
1. Apple Pie Recipe (Yield: 8 Servings)
Ingredients
- 2 (9″) pie crusts
- 7 large Granny Smith apples, peeled, cored, and sliced into ½-inch slices
- ½ cup granulated sugar
- ½ cup light brown sugar, loosely packed
- 2 tablespoons all-purpose flour
- 1 teaspoon ground cinnamon
- ⅛ teaspoon ground nutmeg
- 1 tablespoon lemon juice
- Zest of half a lemon
- 1 large egg, lightly beaten for egg wash
- 2 tablespoons sanding sugar (optional)
Instructions
Preheat your oven to 425°F (220°C). Position a rack in the lower third of the oven to help the bottom crust bake evenly and become golden brown.
Prepare the apples by peeling, coring, and slicing them into uniform ½-inch slices. Place the sliced apples into a large mixing bowl.
Add the granulated sugar, brown sugar, flour, cinnamon, nutmeg, lemon juice, and lemon zest to the apples. Gently toss everything together until the apple slices are evenly coated with the sugar and spice mixture. Allow the mixture to sit for about 10 to 15 minutes so the flavors can begin to meld.
Roll out one of the pie crusts and carefully place it into a 9-inch pie plate. Gently press the crust into the bottom and sides of the dish without stretching it.
Spoon the apple filling into the prepared crust, arranging the apples evenly and slightly mounding them in the center. As the apples bake, they will soften and settle.
Place the second pie crust over the filling. Trim any excess dough, leaving about ½ inch around the edge. Fold the edges under and crimp them decoratively using your fingers or a fork to seal the pie.
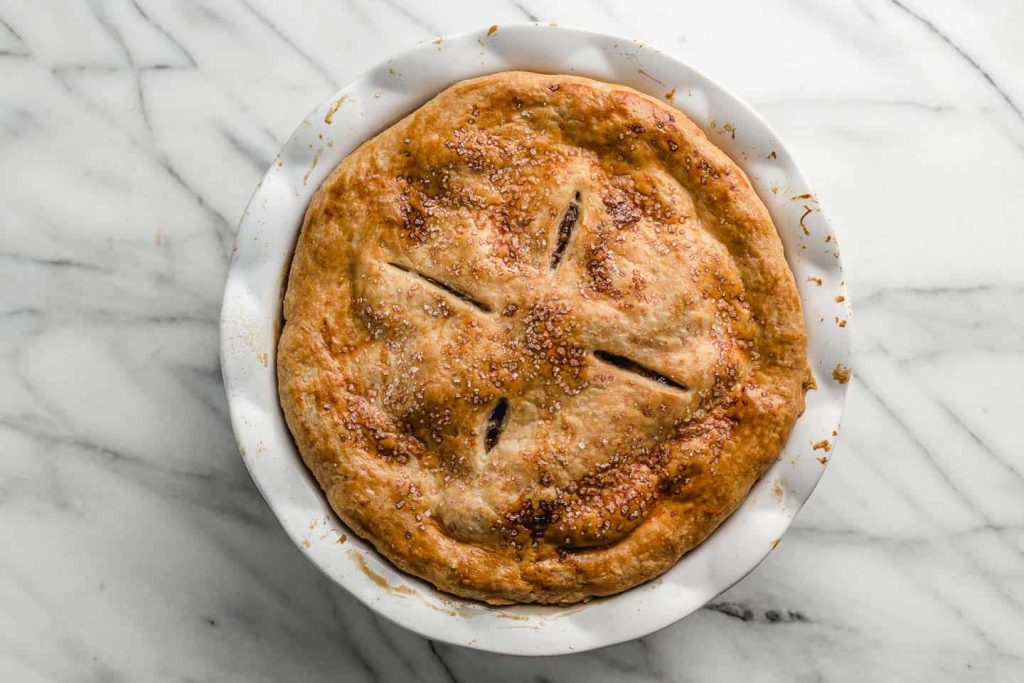
Using a sharp knife, cut several small slits in the top crust. These vents allow steam to escape during baking and help prevent the crust from becoming soggy.
Brush the entire top crust with the beaten egg wash. This step creates a beautiful golden finish. Sprinkle the sanding sugar over the crust if desired for extra sparkle and sweetness.
Place the pie on a baking sheet to catch any bubbling juices that may overflow during baking. Transfer the pie to the preheated oven.
Bake at 425°F (220°C) for 20 minutes. Then reduce the oven temperature to 375°F (190°C) and continue baking for an additional 35 to 45 minutes.
The pie is done when the crust is deeply golden brown and the filling is visibly bubbling through the vent slits. If the edges of the crust begin to brown too quickly, cover them loosely with aluminum foil.
Remove the pie from the oven and place it on a cooling rack. Allow it to cool for at least 3 hours before slicing. This cooling period helps the filling set properly and makes serving easier.
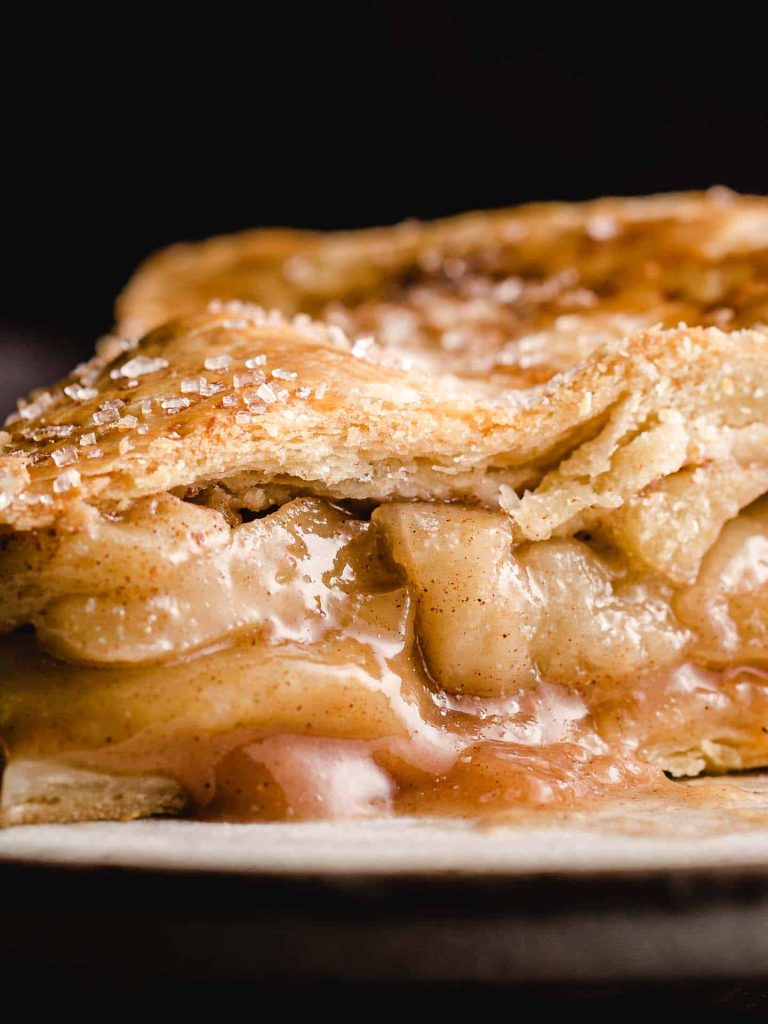
Slice and serve at room temperature or slightly warm. Pair with vanilla ice cream, whipped cream, or caramel sauce for an extra-special dessert.
2. Tips for Perfect Homemade Apple Pie
Choose Granny Smith apples for their firm texture and tart flavor. They hold their shape well during baking and balance the sweetness of the filling.
Slice the apples evenly so they cook at the same rate and create a consistent texture throughout the pie.
Allow the pie to cool completely before slicing. This helps the filling thicken and prevents it from running onto the plate.
Bake the pie on a lower oven rack to ensure the bottom crust cooks thoroughly and doesn’t become soft.
Place the pie on a baking sheet to catch any drips and keep the oven clean.
For extra flavor, combine several apple varieties with Granny Smith apples to create a more complex filling.
Keep pie crust dough chilled until ready to use. Cold dough produces a flakier and more tender crust.
3. Frequently Asked Questions
Can I make apple pie a day ahead?
Yes. Apple pie can be baked one day in advance and stored covered at room temperature. Many people find that the flavors become even better after resting overnight.
What other apples work well in apple pie?
Honeycrisp, Braeburn, Pink Lady, Jonagold, and Fuji apples are all excellent choices. Many bakers enjoy combining two or more varieties for added flavor and texture.
How should I store leftover apple pie?
Store leftover pie loosely covered at room temperature for up to two days or refrigerate it for up to five days. Allow refrigerated pie to come to room temperature before serving if desired.
Can I freeze homemade apple pie?
Yes. You can freeze either a baked pie or an unbaked assembled pie. Wrap it tightly in plastic wrap and foil before freezing for up to three months.
Why is my apple pie filling watery?
Watery filling can result from apples releasing excess moisture during baking. Allowing the pie to cool completely helps the filling set properly before serving.
4. Nutrition Information
| Nutrient | Amount Per Serving |
|---|---|
| Calories | 420 |
| Protein | 4g |
| Carbohydrates | 62g |
| Fat | 18g |
| Saturated Fat | 5g |
| Cholesterol | 26mg |
| Sodium | 240mg |
| Fiber | 4g |
| Sugar | 34g |
| Potassium | 210mg |
| Iron | 1.5mg |
Nutrition values are approximate and may vary depending on the specific ingredients used.
This Best Homemade Apple Pie Recipe from Scratch is a classic dessert that never goes out of style. The combination of flaky crust, tender apples, and warm spices creates a comforting treat that’s perfect for holidays, celebrations, and everyday family meals.
With simple ingredients and straightforward steps, this recipe makes it easy to create a bakery-quality pie right in your own kitchen. Once you take your first bite of this homemade apple pie, it may become a favorite recipe you’ll return to again and again.
