Roasted Turkey Thighs are an easy and practical recipe for making a homemade meal without the extra preparation required for a whole turkey. The cooking process is straightforward, making this a useful recipe for both everyday meals and special occasions.
This recipe provides a simple step-by-step method for preparing and roasting turkey thighs from start to finish. With a few basic techniques and careful cooking, you can make this recipe confidently at home.
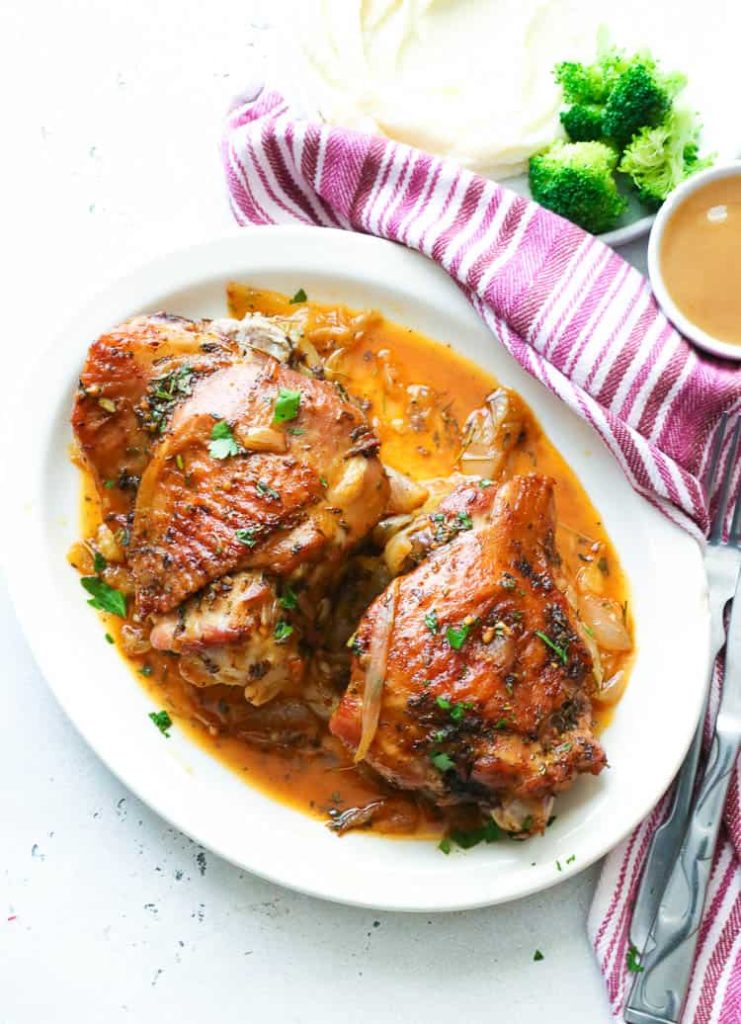
1. Roasted Turkey Thighs Recipe (Yield: 4 Servings)
Ingredients
Turkey Thighs
- 2 turkey thighs, about 2–3 pounds total
- Salt and pepper, to taste
Herb Butter
- 4 ounces unsalted butter
- 2 teaspoons minced garlic
- 5 sage leaves, minced
- 3 sprigs rosemary, leaves removed and minced, about 1 tablespoon
- 1 teaspoon paprika
- 1 tablespoon chopped parsley
Instructions
Preheat the oven to 375°F. Lightly grease a roasting pan or baking dish and set it aside.
Pat the turkey thighs dry with paper towels. Removing excess moisture helps the seasoning stick and allows the outside of the turkey to brown more effectively during roasting.
Prepare the herb butter by placing the softened butter in a small bowl. Add the minced garlic, sage, rosemary, paprika, and chopped parsley. Mix everything together until the herbs and seasonings are evenly distributed throughout the butter.
Season both sides of the turkey thighs generously with salt and pepper. Carefully loosen the skin from the meat with your fingers, being careful not to tear it.
Spread some of the herb butter underneath the skin of each turkey thigh. Rub the remaining herb butter over the outside of the skin, making sure the thighs are evenly coated.
Place the turkey thighs skin-side up in the prepared baking dish. Leave some space between the pieces so the heat can circulate around them.
Place the baking dish in the preheated oven and roast for about 60–75 minutes, depending on the size of the turkey thighs. Larger pieces may require additional cooking time.
During roasting, avoid opening the oven unnecessarily. After about 50–60 minutes, begin checking the internal temperature by inserting an instant-read thermometer into the thickest part of the meat without touching the bone.
Continue roasting until the thickest part of the turkey reaches at least 165°F. For turkey thighs, cooking to a slightly higher temperature can help make the dark meat more tender.
If the skin needs additional browning near the end of cooking, increase the oven temperature slightly or use the broiler for a short time. Watch the turkey carefully during this step to prevent the skin from burning.
Remove the turkey thighs from the oven and transfer them to a clean cutting board or serving platter. Let them rest for about 10–15 minutes before slicing. This allows the juices to settle and makes the meat easier to carve.
Slice the turkey thighs against the grain and serve warm.
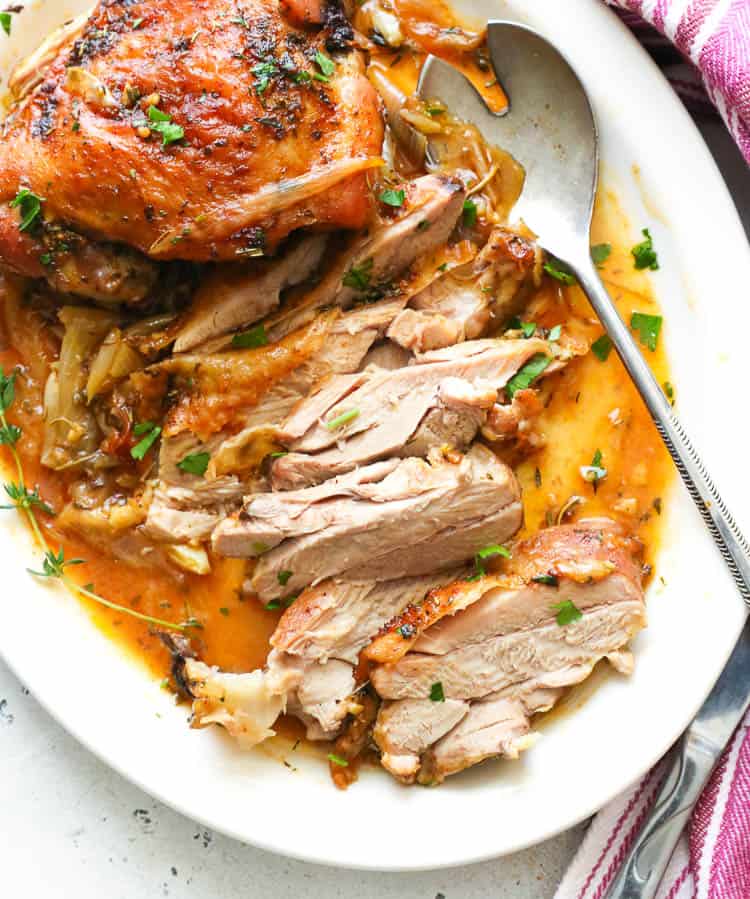
2. Tips for Perfect Roasted Turkey Thighs
Pat the turkey dry before seasoning. Dry skin helps the butter adhere better and encourages more even browning during roasting.
Use softened butter for the herb mixture. Soft butter is much easier to mix with the herbs and spread underneath the turkey skin.
Place herb butter under the skin. This helps keep the meat moist during roasting and allows the seasoning to stay close to the turkey.
Keep the skin facing up. Roasting the thighs skin-side up helps the skin brown properly while the turkey cooks.
Use a thermometer rather than relying only on time. Turkey thighs vary in size, so checking the internal temperature is the most reliable way to determine when they are fully cooked.
Let the turkey rest before slicing. A 10–15 minute resting period allows the juices to redistribute and helps keep the meat moist.
3. Frequently Asked Questions
Can I use bone-in turkey thighs for this recipe?
Yes. This recipe is designed for turkey thighs with the bone intact. The bone can help the meat retain its shape during roasting, but it also means you should check the temperature carefully in the thickest area without touching the bone.
Can I prepare the herb butter ahead of time?
Yes. The herb butter can be prepared ahead and refrigerated in an airtight container. Let it soften before using so it can be spread easily under and over the turkey skin.
Should I cover turkey thighs while roasting?
You generally do not need to cover them. Leaving the thighs uncovered allows the skin to brown during roasting. If the skin becomes too dark before the meat is fully cooked, you can loosely cover the top with aluminum foil.
How do I carve a turkey thigh?
Allow the turkey to rest first, then place it on a cutting board. Use a sharp knife to cut the meat away from the bone and slice it into manageable pieces. Cutting against the grain can make the meat easier to eat.
Can I use this recipe for more turkey thighs?
Yes. You can increase the amount of turkey and adjust the herb butter accordingly. Make sure the roasting pan is large enough to leave space between the thighs, and use the internal temperature rather than a fixed cooking time to determine when they are done.
4. Nutrition Information
The following nutrition information is an estimate based on the ingredients listed and divided into 4 servings. Actual values may vary depending on the size of the turkey thighs, the amount of skin consumed, and how much herb butter remains in the pan.
| Nutrient | Amount per Serving |
|---|---|
| Calories | 610 kcal |
| Protein | 54 g |
| Carbohydrates | 2 g |
| Fat | 43 g |
| Saturated Fat | 22 g |
| Cholesterol | 250 mg |
| Sodium | 420 mg |
| Fiber | 1 g |
| Sugar | 0 g |
| Calcium | 35 mg |
| Iron | 3 mg |
Roasted Turkey Thighs are a practical recipe for making a satisfying homemade meal without the extra work of preparing a whole turkey. The preparation is straightforward, and the herb butter can be made in just a few minutes before roasting.
The key is to monitor the turkey’s internal temperature and allow the cooked thighs to rest before slicing. Once you are familiar with the process, this recipe is an easy option to keep in your collection for everyday meals and special occasions.