If you’re craving a slice of sweet, tart, and buttery goodness, this Easy Homemade Cherry Pie Recipe is the perfect dessert to bake. Whether you use fresh sour cherries from the market or canned cherries from your pantry, this pie captures the timeless taste of homemade comfort.
With its flaky golden crust, thick ruby-red filling, and irresistible aroma, cherry pie is a true American classic that never goes out of style. This recipe is beginner-friendly, straightforward, and rewarding. You’ll learn how to make cherry pie filling from scratch, assemble the pie beautifully, and bake it to perfection.
1. Easy Homemade Cherry Pie Recipe (Yield: 12 Slices)
Ingredients
2 (9-inch) pie crusts (homemade or store-bought)
1.5 lbs fresh, sour cherries or three (14.5 oz) cans of sour cherries, drained
3/4 cup granulated sugar
2 tablespoons lemon juice
1/3 cup cornstarch
2 tablespoons butter
1/2 teaspoon ground cinnamon
1 large egg white, beaten with a fork
Granulated sugar, for sprinkling on top
Instructions
Step 1: Prepare the Cherry Filling
If using fresh cherries, wash, pit, and measure 1.5 pounds. If using canned cherries, drain them well and save about 1/4 cup of the juice for flavor.
In a medium saucepan, combine the cherries, sugar, and lemon juice.
Heat the mixture over medium heat for 3–5 minutes until the cherries release some of their juices.
In a small bowl, whisk together the cornstarch with 1/4 cup of cold water (or cherry juice if using canned cherries) until smooth.
Pour the cornstarch mixture into the saucepan and stir constantly as the filling thickens. This will take about 3–4 minutes.
Once thick and glossy, remove the pan from heat. Stir in the butter and ground cinnamon until melted and fully incorporated.
Let the cherry filling cool to room temperature for at least 30 minutes before using. This helps the filling set and prevents a soggy crust.
Step 2: Prepare the Pie Crust
Preheat your oven to 425°F (220°C).
Roll out one pie crust and gently place it into a 9-inch pie pan. Trim any excess dough hanging over the edges.
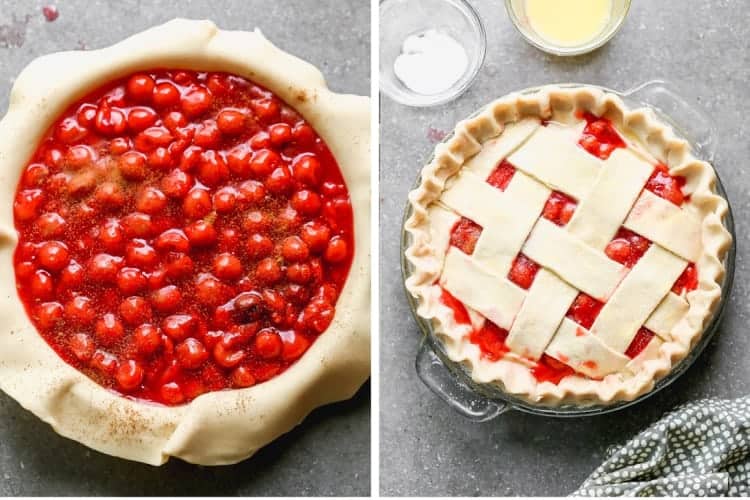
Pour the cooled cherry filling evenly into the pie shell. Spread it out with a spatula so the cherries are distributed uniformly.
Step 3: Add the Top Crust
Roll out the second pie crust and lay it over the cherry filling. You can leave it whole, cut slits in the top for steam to escape, or create a decorative lattice crust for a classic look.
Trim the edges of both crusts, leaving about 1/2 inch hanging over the edge. Fold the edges under and crimp with your fingers or a fork to seal.
Brush the top crust with the beaten egg white to give it a glossy finish. You can sprinkle a light layer of granulated sugar over the top for a sparkly, golden crust.
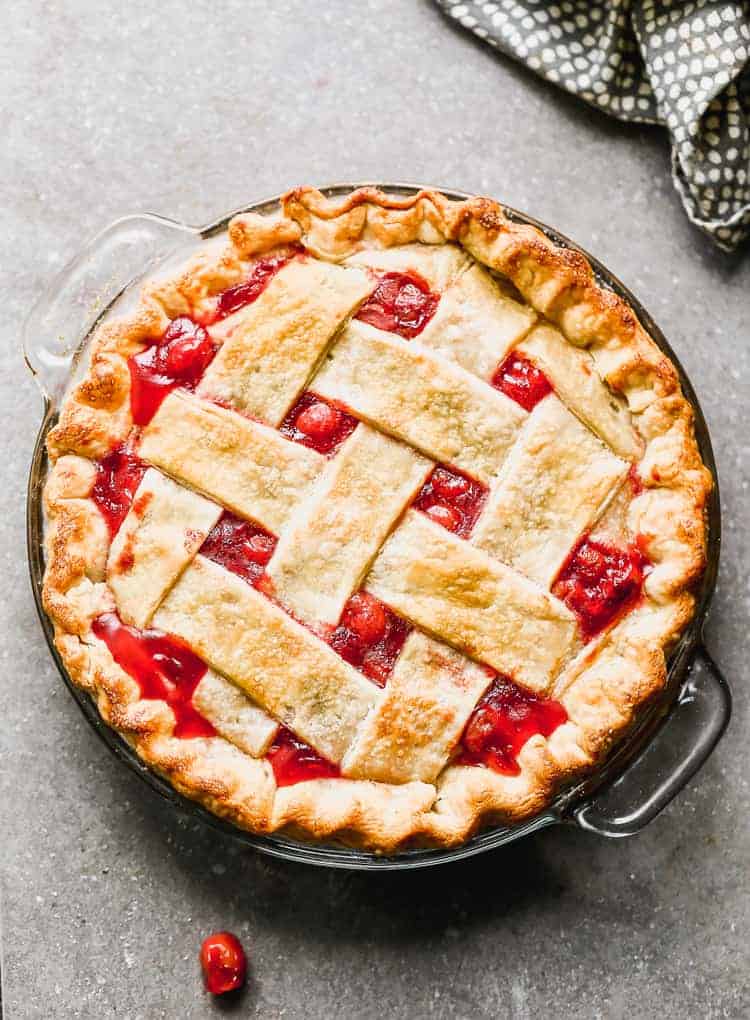
Step 4: Bake the Pie
Place the pie on the middle rack of your preheated oven.
Bake for 35–45 minutes, or until the crust is golden brown and the filling is bubbling through the vents.
If the edges brown too quickly, cover them loosely with strips of aluminum foil during the last 15 minutes of baking.
Remove the pie from the oven and let it cool completely—at least 2–3 hours—before slicing. This allows the filling to thicken properly.
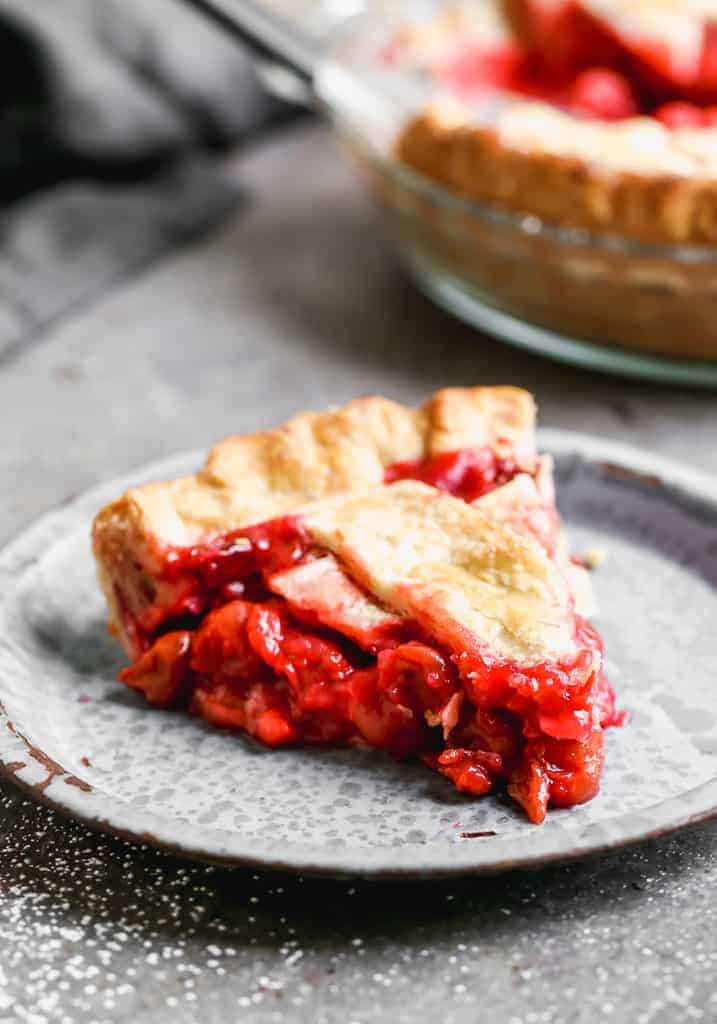
Step 5: Serve and Enjoy
Once cooled, slice your cherry pie into generous wedges. Serve as-is for a simple dessert, or elevate it with a scoop of vanilla ice cream or a dollop of whipped cream. The sweet-tart filling and buttery crust pair perfectly with creamy toppings.
2. Tips for Perfect Homemade Cherry Pie
Choose the right cherries: Sour cherries are traditional for pie because they provide a pleasant tartness that balances the sugar. If using sweet cherries, reduce the sugar to about 1/2 cup.
Cool the filling before baking: A hot filling can melt the bottom crust, leading to sogginess. Cooling allows the starch to set.
Use cornstarch properly: Always dissolve cornstarch in cold liquid before adding it to hot ingredients. This prevents lumps and ensures a smooth filling.
Avoid overbaking: Once the crust turns golden and the filling bubbles through the slits, your pie is ready. Overbaking can make the filling overly thick.
Let the pie rest: After baking, the filling needs time to settle and firm up. Cutting too soon can make it runny.
Add flavor twists: For a richer taste, mix in a teaspoon of vanilla extract or almond extract to the filling. A sprinkle of nutmeg can also complement the cherries beautifully.
3. Frequently Asked Questions
Can I use frozen cherries instead of fresh or canned?
Yes! Frozen cherries work wonderfully. Just thaw them completely and drain any excess liquid before cooking the filling.
How can I keep my pie crust from getting soggy?
You can brush the bottom crust with a thin layer of beaten egg white or melted butter before adding the filling. This creates a moisture barrier and keeps the crust crisp.
Can I make the filling ahead of time?
Absolutely. The cherry filling can be prepared up to 2 days in advance. Store it in an airtight container in the refrigerator until ready to assemble the pie.
What’s the best way to store leftover cherry pie?
Cover and refrigerate leftovers for up to 4 days. To serve warm, reheat individual slices in the microwave for 15–20 seconds or the whole pie in the oven at 325°F for 10–15 minutes.
Can I freeze the baked pie?
Yes! Once cooled, wrap the pie tightly in plastic wrap and aluminum foil, then freeze for up to 3 months. Thaw in the refrigerator overnight before serving or reheating.
4. Nutrition Information
| Nutrient | Amount per Serving (1 slice) |
|---|---|
| Calories | 310 kcal |
| Total Fat | 12 g |
| Saturated Fat | 5 g |
| Cholesterol | 25 mg |
| Sodium | 180 mg |
| Total Carbohydrates | 49 g |
| Dietary Fiber | 2 g |
| Sugars | 26 g |
| Protein | 3 g |
| Vitamin C | 6 mg |
| Calcium | 15 mg |
| Iron | 1 mg |
Final Thoughts
This Easy Homemade Cherry Pie Recipe is the perfect dessert to showcase the vibrant flavor of cherries in a flaky, buttery crust. Whether you use fresh cherries in summer or canned ones in winter, every bite is filled with nostalgia and sweetness. The filling is rich, glossy, and perfectly balanced between tart and sweet, while the crust delivers that satisfying crunch.
