Vanilla pudding is a classic homemade dessert with a smooth, creamy texture and a gentle sweetness that never goes out of style. It has a nostalgic quality that makes it feel familiar and comforting, yet it is simple enough to enjoy as an everyday treat.
Making vanilla pudding from scratch is easier than you might expect, and you don’t need a boxed mix to get that creamy, silky texture. With a few basic ingredients and a little time at the stove, you can make a homemade dessert that is delicious on its own and easy to enjoy in many different ways.
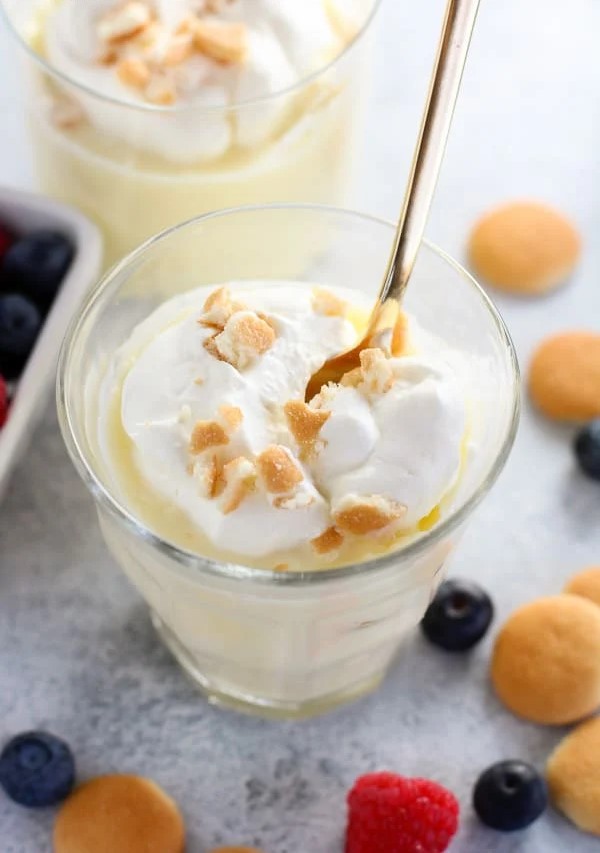
1. Homemade Vanilla Pudding Recipe (Yield: 4 Servings)
Ingredients
- 1 ⅓ cups granulated sugar
- ⅔ cup unsweetened cocoa powder
- ⅓ cup cornstarch
- Pinch of salt
- 4 ½ cups milk
- 3 tablespoons unsalted butter
- 1 teaspoon vanilla extract
(Note: This recipe can be easily doubled for a larger batch.)
Instructions
Step 1: Mix Dry Ingredients
In a medium-sized saucepan (preferably heavy-bottomed to prevent scorching), combine the sugar, cornstarch, and salt. Whisk the dry ingredients thoroughly until evenly blended. This step ensures that the cornstarch is well distributed and will prevent lumps when the milk is added.
Step 2: Add the Milk
Slowly pour in about 1 cup of milk while whisking constantly to create a smooth slurry. Gradually add the remaining milk, whisking to blend everything together into a lump-free mixture.
Step 3: Cook the Mixture
Place the saucepan over medium heat. Continue whisking constantly as the mixture heats up. After about 5–7 minutes, the pudding will begin to thicken. Keep whisking to ensure the bottom doesn’t burn.
Once bubbles start to form around the edges and the pudding begins to boil, reduce the heat to low and cook for an additional 1–2 minutes. This allows the cornstarch to fully activate and the pudding to reach its creamy, thick consistency.
Step 4: Add Butter and Vanilla
Remove the saucepan from the heat. Add unsalted butter and vanilla extract, then stir until the butter melts completely and the mixture becomes glossy and smooth. The vanilla will infuse a rich aroma and deep flavor into the pudding.
Step 5: Cool and Serve
Pour the hot pudding into individual serving dishes or one large bowl. To prevent a skin from forming on the surface, press a piece of plastic wrap directly against the pudding. Let it cool to room temperature, then refrigerate for at least 2 hours or until chilled.
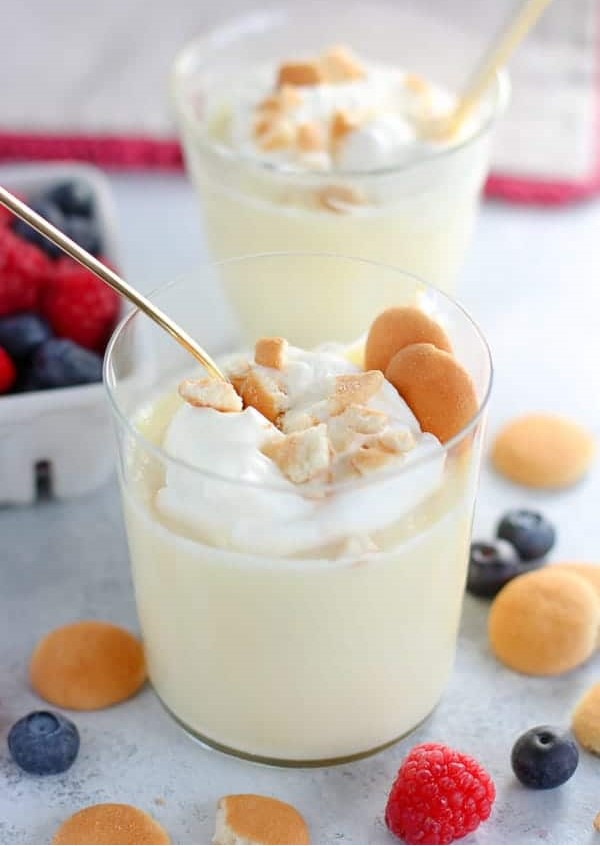
Serve the vanilla pudding as is, or garnish it with whipped cream, fresh berries, or a sprinkle of crushed cookies for an extra treat.
2. Tips for Perfect Homemade Vanilla Pudding
Use Whole Milk for Creaminess:
While you can use 2% milk, whole milk gives the pudding a richer and silkier texture.
Whisk Constantly:
Continuous whisking during cooking prevents lumps and ensures even heating. A silicone whisk works best for nonstick pans.
Control the Heat:
Don’t rush by using high heat. Medium heat allows the pudding to thicken gradually without burning.
Prevent Skin Formation:
Always press plastic wrap directly onto the pudding’s surface while it cools to keep it smooth and creamy.
Adjust Sweetness and Flavor:
For a lighter flavor, reduce sugar slightly. You can also add a splash of almond extract or a dash of nutmeg for variation.
Chill Properly:
Chilling for at least 2 hours enhances flavor and texture. If you prefer a warm pudding, serve it right after cooking—it’s equally delicious.
Make Ahead Option:
Homemade pudding stores well in the refrigerator for up to 4 days. Just keep it covered to prevent drying.
3. Frequently Asked Questions
Q1: Can I make this pudding dairy-free?
Yes! Substitute the milk with almond milk, oat milk, or coconut milk. However, note that the flavor and texture may vary slightly—coconut milk gives a creamier finish.
Q2: Why is my pudding lumpy?
Lumps occur when cornstarch isn’t fully mixed before heating or when the mixture is heated too fast. To fix it, strain the pudding through a fine mesh sieve while still warm.
Q3: Can I turn this into chocolate pudding?
Absolutely. Simply add ⅔ cup of unsweetened cocoa powder to the dry ingredients before cooking. This transforms your vanilla pudding base into a rich, homemade chocolate pudding.
Q4: How long does homemade pudding last in the refrigerator?
Homemade vanilla pudding lasts about 3–4 days when stored in an airtight container in the fridge.
Q5: Can I freeze vanilla pudding?
Freezing is not recommended since the texture can separate upon thawing. It’s best to enjoy it fresh or within a few days of making it.
4. Nutrition Information
| Nutrient | Amount per Serving |
|---|---|
| Calories | 290 kcal |
| Total Fat | 8 g |
| Saturated Fat | 5 g |
| Cholesterol | 25 mg |
| Sodium | 130 mg |
| Total Carbohydrates | 50 g |
| Dietary Fiber | 0.5 g |
| Sugars | 40 g |
| Protein | 6 g |
| Calcium | 180 mg |
| Iron | 0.3 mg |
| Potassium | 220 mg |
Homemade vanilla pudding is a classic dessert that proves a simple recipe can still feel special. Its smooth texture and familiar sweetness make it a lovely choice for everyday treats as well as moments when you want something homemade to share.
Once you make pudding from scratch, it’s easy to see why this timeless dessert has remained a favorite for generations. The recipe is straightforward, the result is satisfying, and it’s a wonderful addition to any homemade dessert collection.