Apple cider vinegar (ACV) is a versatile ingredient known for its health benefits and culinary uses. Making it at home is a simple and satisfying process. With just a few basic ingredients and patience, you can create your own high-quality apple cider vinegar from scratch. Here’s a step-by-step guide to help you.
1. How to Make Homemade Apple Cider Vinegar
Ingredients
- Apples: 6-8 medium-sized apples (any variety)
- Sugar: 2 tablespoons (optional for fermentation)
- Filtered water: Enough to cover the apples
- Glass jar: Large enough to hold the apple mixture
- Cheesecloth or coffee filter: For covering the jar
Instructions
Preparing the Apples
Wash the apples thoroughly to remove any dirt or wax. You can use whole apples, cores, or peels, depending on what you have. If using whole apples, chop them into small pieces to aid fermentation.
Filling the Jar
Place the apple pieces into a clean glass jar, filling it about three-quarters full. This ensures there’s enough room for the liquid to expand during fermentation.
Adding Sugar and Water
Dissolve 2 tablespoons of sugar in 1 cup of warm filtered water. Pour this over the apples. Add additional filtered water until the apples are completely submerged. The sugar helps to speed up fermentation but can be omitted if you prefer.
Covering the Jar
Secure a piece of cheesecloth or a coffee filter over the jar opening with a rubber band. This allows airflow while keeping dust and bugs out.
Fermentation Process
Place the jar in a dark, room-temperature spot (around 68-75°F or 20-24°C). Stir the mixture daily to prevent mold from forming on the surface. After about 1-2 weeks, you’ll notice bubbles forming, a sign that fermentation is underway.
Straining the Liquid
Once bubbling slows down (usually after 2-3 weeks), strain out the apple solids using a fine mesh strainer or cheesecloth. Pour the liquid back into the jar.
Second Fermentation
Cover the jar again with the cheesecloth and place it back in the dark spot. Let it sit for another 3-4 weeks, stirring occasionally. Taste the liquid periodically to check its acidity. It will continue to develop its tangy flavor over time.
Storing the Vinegar
Once the vinegar reaches your desired acidity, transfer it to a clean glass bottle with a tight lid. Store it at room temperature.

2. Recipe & Ideas Using Apple Cider Vinegar
Homemade apple cider vinegar can enhance a variety of dishes and drinks. Here are some creative ways to use it:
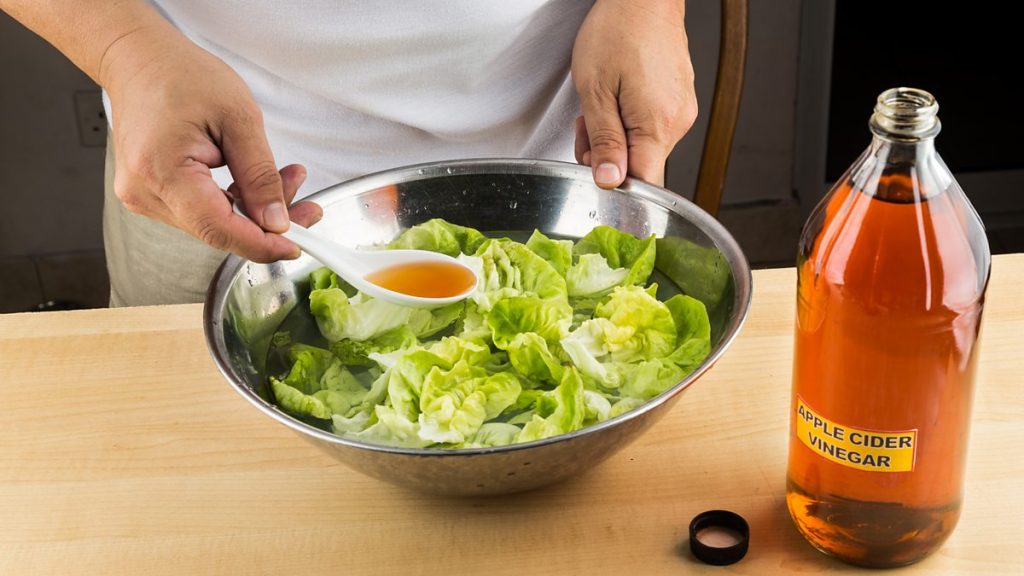
Salad Dressings
Combine apple cider vinegar with olive oil, Dijon mustard, honey, and seasonings to make a tangy vinaigrette. This works perfectly for green salads or roasted vegetables.
Detox Drinks
Mix 1-2 teaspoons of apple cider vinegar with warm water, lemon juice, and a touch of honey for a refreshing and health-boosting drink.
Pickling
Use apple cider vinegar as the base for pickling cucumbers, onions, or radishes. Its acidity provides a flavorful tang while preserving the vegetables.
Marinades
Add apple cider vinegar to marinades for meats or tofu. It helps tenderize proteins and infuses them with a delicious tangy flavor.
Baking
In vegan baking, apple cider vinegar can be used to activate baking soda, giving cakes and muffins a light, fluffy texture.
Skin & Hair Care
Although not a food use, apple cider vinegar can be diluted with water and used as a natural toner or hair rinse for shiny, healthy hair.
3. Health Benefits of Apple Cider Vinegar
Helps Regulate Blood Sugar Levels
One of the most well-known benefits of apple cider vinegar is its ability to improve blood sugar control. Studies have shown that ACV can help lower blood sugar spikes after meals and improve insulin sensitivity — especially in people with insulin resistance or type 2 diabetes.
Improves Digestion and Gut Health
Raw, unfiltered apple cider vinegar (with “the mother”) contains beneficial enzymes and probiotics that can support healthy digestion. The acidic nature of ACV helps increase stomach acid, which can enhance the breakdown and absorption of nutrients.
May Help Lower Cholesterol and Improve Heart Health
Some research suggests that ACV may contribute to better heart health by helping lower cholesterol and triglyceride levels. Acetic acid has been shown to reduce levels of harmful LDL cholesterol and increase beneficial HDL cholesterol in some animal studies.
Supports Weight Loss and Appetite Control
Apple cider vinegar may aid in weight management by promoting fullness and reducing calorie intake. The acetic acid in ACV has been linked to appetite suppression, helping you feel full for longer and reducing overall food intake. A small study found that people who consumed vinegar daily for 12 weeks experienced modest weight loss compared to those who didn’t.

4. How to Store Apple Cider Vinegar Properly
Storing homemade apple cider vinegar correctly ensures it stays fresh and flavorful:
Use Airtight Containers
Transfer the finished vinegar into clean, airtight glass bottles or jars. This prevents contamination and preserves its quality.
Keep It in a Cool, Dark Place
Store the vinegar in a pantry or cupboard away from direct sunlight. Excessive heat or light can degrade its flavor over time.
Refrigeration Is Optional
Homemade apple cider vinegar doesn’t require refrigeration due to its natural acidity, which inhibits bacterial growth. However, you can refrigerate it if you prefer a cooler product.
Monitor for Changes
Over time, you might notice sediment or a cloudy film called the “mother” forming in your vinegar. This is normal and a sign of healthy fermentation. Simply shake the bottle before use if this occurs.
Making apple cider vinegar at home is a rewarding process that yields a delicious product you can use in countless ways. With proper storage, it can last for months and even improve in flavor over time. Start your batch today and enjoy the countless benefits of homemade apple cider vinegar!
Read More: How to Make Yogurt at Home
