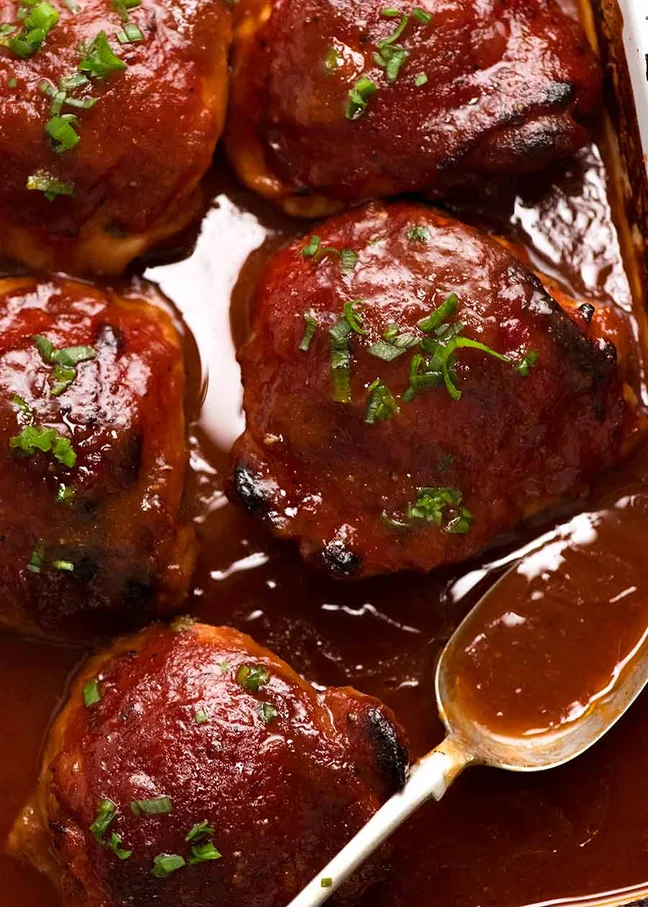
Oven-baked BBQ chicken thighs are a timeless classic, delivering juicy meat, crispy skin, and a sticky-sweet glaze that’s full of smoky flavor. This recipe uses simple pantry staples to build a rich homemade BBQ sauce that caramelizes beautifully in the oven.
Bone-in, skin-on chicken thighs are ideal for baking because they stay moist, making this dish both reliable and incredibly flavorful. Whether you’re cooking for a weeknight dinner or a casual gathering, these baked BBQ chicken thighs will always impress.
1. Oven Baked BBQ Chicken Thighs Recipe ( Yield: 5 Serving )
Ingredients
Chicken:
- 1.5 kg / 3 lb chicken thighs (bone-in, skin-on), about 5 chicken thighs
BBQ Sauce:
- 1 cup ketchup or Australian/UK tomato sauce
- 1/4 cup apple cider vinegar
- 2 tsp Worcestershire sauce
- 4 tbsp brown sugar
- 2 tsp mustard powder
- 2 tsp onion powder
- 1/2 tsp salt
- 1/2 tsp fresh black pepper
- 1 cup water
For Garnish:
- Fresh parsley, chives, or finely chopped green onions
Instructions
Step 1: Prepare the Chicken
Preheat your oven to 400°F (200°C). Line a baking tray with aluminum foil or parchment paper to make cleanup easier. Pat the chicken thighs dry with paper towels—removing excess moisture helps the skin crisp in the oven. Arrange the thighs skin-side up on the prepared tray, leaving a little space between each piece for even heat circulation.
Step 2: Make the Homemade BBQ Sauce
In a mixing bowl, whisk together the ketchup, apple cider vinegar, Worcestershire sauce, brown sugar, mustard powder, onion powder, salt, pepper, and water until smooth. The mixture will be slightly thin at this stage, but it will thicken and caramelize while baking. Taste the sauce and adjust the sweetness or tanginess if desired.
Step 3: Coat the Chicken
Using a spoon or brush, generously spread the BBQ sauce over the chicken thighs. Flip the thighs over, coat the underside, then turn them back skin-side up. Make sure each piece is covered thoroughly—this is what creates that glossy, sticky finish once baked.
Step 4: Bake the Chicken
Place the tray in the preheated oven and bake for 35 minutes. Remove the tray and baste the chicken with more BBQ sauce from the bottom of the tray. Return the chicken to the oven and bake for another 20–25 minutes, or until the sauce is thickened and caramelized.
For best results, switch the oven to broil/grill for the last 3–5 minutes to darken the glaze. Watch carefully to prevent burning—the sugar in the sauce can char quickly.
Step 5: Check for Doneness
The internal temperature of the thickest part of each thigh should reach 165°F (74°C). The juices should run clear, and the skin should be lightly crisp with a deep caramelized color.
Step 6: Rest and Serve
Let the chicken rest for 5 minutes after baking to allow the juices to settle. Garnish with fresh parsley, green onions, or chives for a pop of color and freshness. Serve hot with your favorite sides such as mashed potatoes, coleslaw, rice, grilled vegetables, or cornbread.
2. Tips for Perfect Baked BBQ Chicken Thighs
Use bone-in, skin-on thighs
This cut delivers the best flavor and retains moisture during the long bake time. The bone adds richness, while the skin protects the meat from drying out.
Broil at the end for a caramelized crust
A final 3–5 minutes under the broiler intensifies the BBQ flavor and creates that irresistible sticky finish. Just keep a close eye on it to avoid burning.
Don’t skip the drying step
Patting the chicken dry helps the sauce cling better and allows the skin to crisp. Moisture prevents caramelization, so this small step makes a big difference.
Baste halfway through
Adding more sauce during baking builds layers of flavor and ensures every bite is coated with sticky goodness. It also keeps the chicken moist and glossy.
Let the chicken rest
A short resting period keeps the juices from spilling out when cut. This guarantees tender, juicy bites every time.
3. Frequently Asked Questions
How can I make the BBQ sauce spicier?
You can add chili powder, cayenne pepper, hot sauce, or even a pinch of crushed red pepper flakes to customize the heat level without changing the overall texture of the sauce.
Can I prepare the chicken ahead of time?
Yes. You can coat the thighs with sauce and refrigerate them for up to 12 hours before baking. This allows the flavors to absorb into the meat, resulting in richer and deeper taste once cooked.
Can I use boneless chicken thighs for this recipe?
You can substitute boneless thighs, but the baking time will be shorter—around 25–30 minutes. Keep a close watch to avoid overcooking, as boneless pieces dry out more quickly.
What if I want a smokier flavor?
Add a small amount of smoked paprika or liquid smoke to the BBQ sauce. These ingredients provide a backyard-grill smokiness even when cooking entirely in the oven.
Can I use store-bought BBQ sauce instead?
Absolutely. If you’re short on time, simply mix your favorite BBQ sauce with a splash of vinegar and a little water to help it caramelize more evenly during baking.
How do I store leftovers?
Keep leftovers in an airtight container in the refrigerator for up to 4 days. Reheat in the oven at 350°F (175°C) for about 10 minutes to revive the crispy texture of the skin.
4. Nutrition Information
| Nutrient | Amount (per serving) |
|---|---|
| Calories | 430 |
| Protein | 29 g |
| Total Fat | 24 g |
| Saturated Fat | 6 g |
| Carbohydrates | 25 g |
| Sugars | 21 g |
| Fiber | 1 g |
| Sodium | 720 mg |
| Cholesterol | 135 mg |
Baked BBQ chicken thighs are the perfect combination of simple preparation and big, satisfying flavor. With a homemade BBQ sauce that thickens and caramelizes beautifully in the oven, each piece comes out tender, juicy, and irresistibly sticky.
This recipe delivers a dependable, crowd-pleasing dish ideal for weeknight meals, family gatherings, or weekend cookouts—without the need for a grill. Once you try this oven-baked method, it may quickly become your go-to way of making BBQ chicken at home.